The OD Link Intercom Server App uses Core Audio input and output devices on macOS. These can be audio interfaces or virtual audio devices exposed by their installed drivers. Core Audio I/O and IFB are included in the server license; there is no separate OD Link I/O purchase.
External audio inputs and outputs let you integrate OD Link Intercom with existing intercom systems, mixing consoles and other production audio equipment through a compatible audio interface. Bring their audio into OD Link channels and Audio Feeds, and send your crew’s channel audio back to those systems.
The $399 one-time Server App license includes Core Audio I/O, IFB, AES-256-GCM audio encryption, up to 128 channels, 128 groups and 128 Audio Feeds, plus 4 users. Additional users are sold separately. Cloud hosting is a separate subscription.
Choose the server devices
In General, choose the server’s Input Device and Output Device. USB and Thunderbolt interfaces appear when available to macOS through Core Audio. Virtual devices use the same selection path. Input and output channel counts depend on the selected device.
For example, Dante Virtual Soundcard (DVS) presents Dante network audio as a Core Audio device on your Mac. Select it as the server’s input or output device, then use its channels for the routing described below.
These are server settings. Each participant still selects their own microphone and headset in the client. Audio hardware and paid third-party drivers or virtual-device software are separate purchases.
Route an external source into an intercom channel
Example: bring an audio console’s talk source into a channel named Production.
- Connect that source to an input on the selected server device.
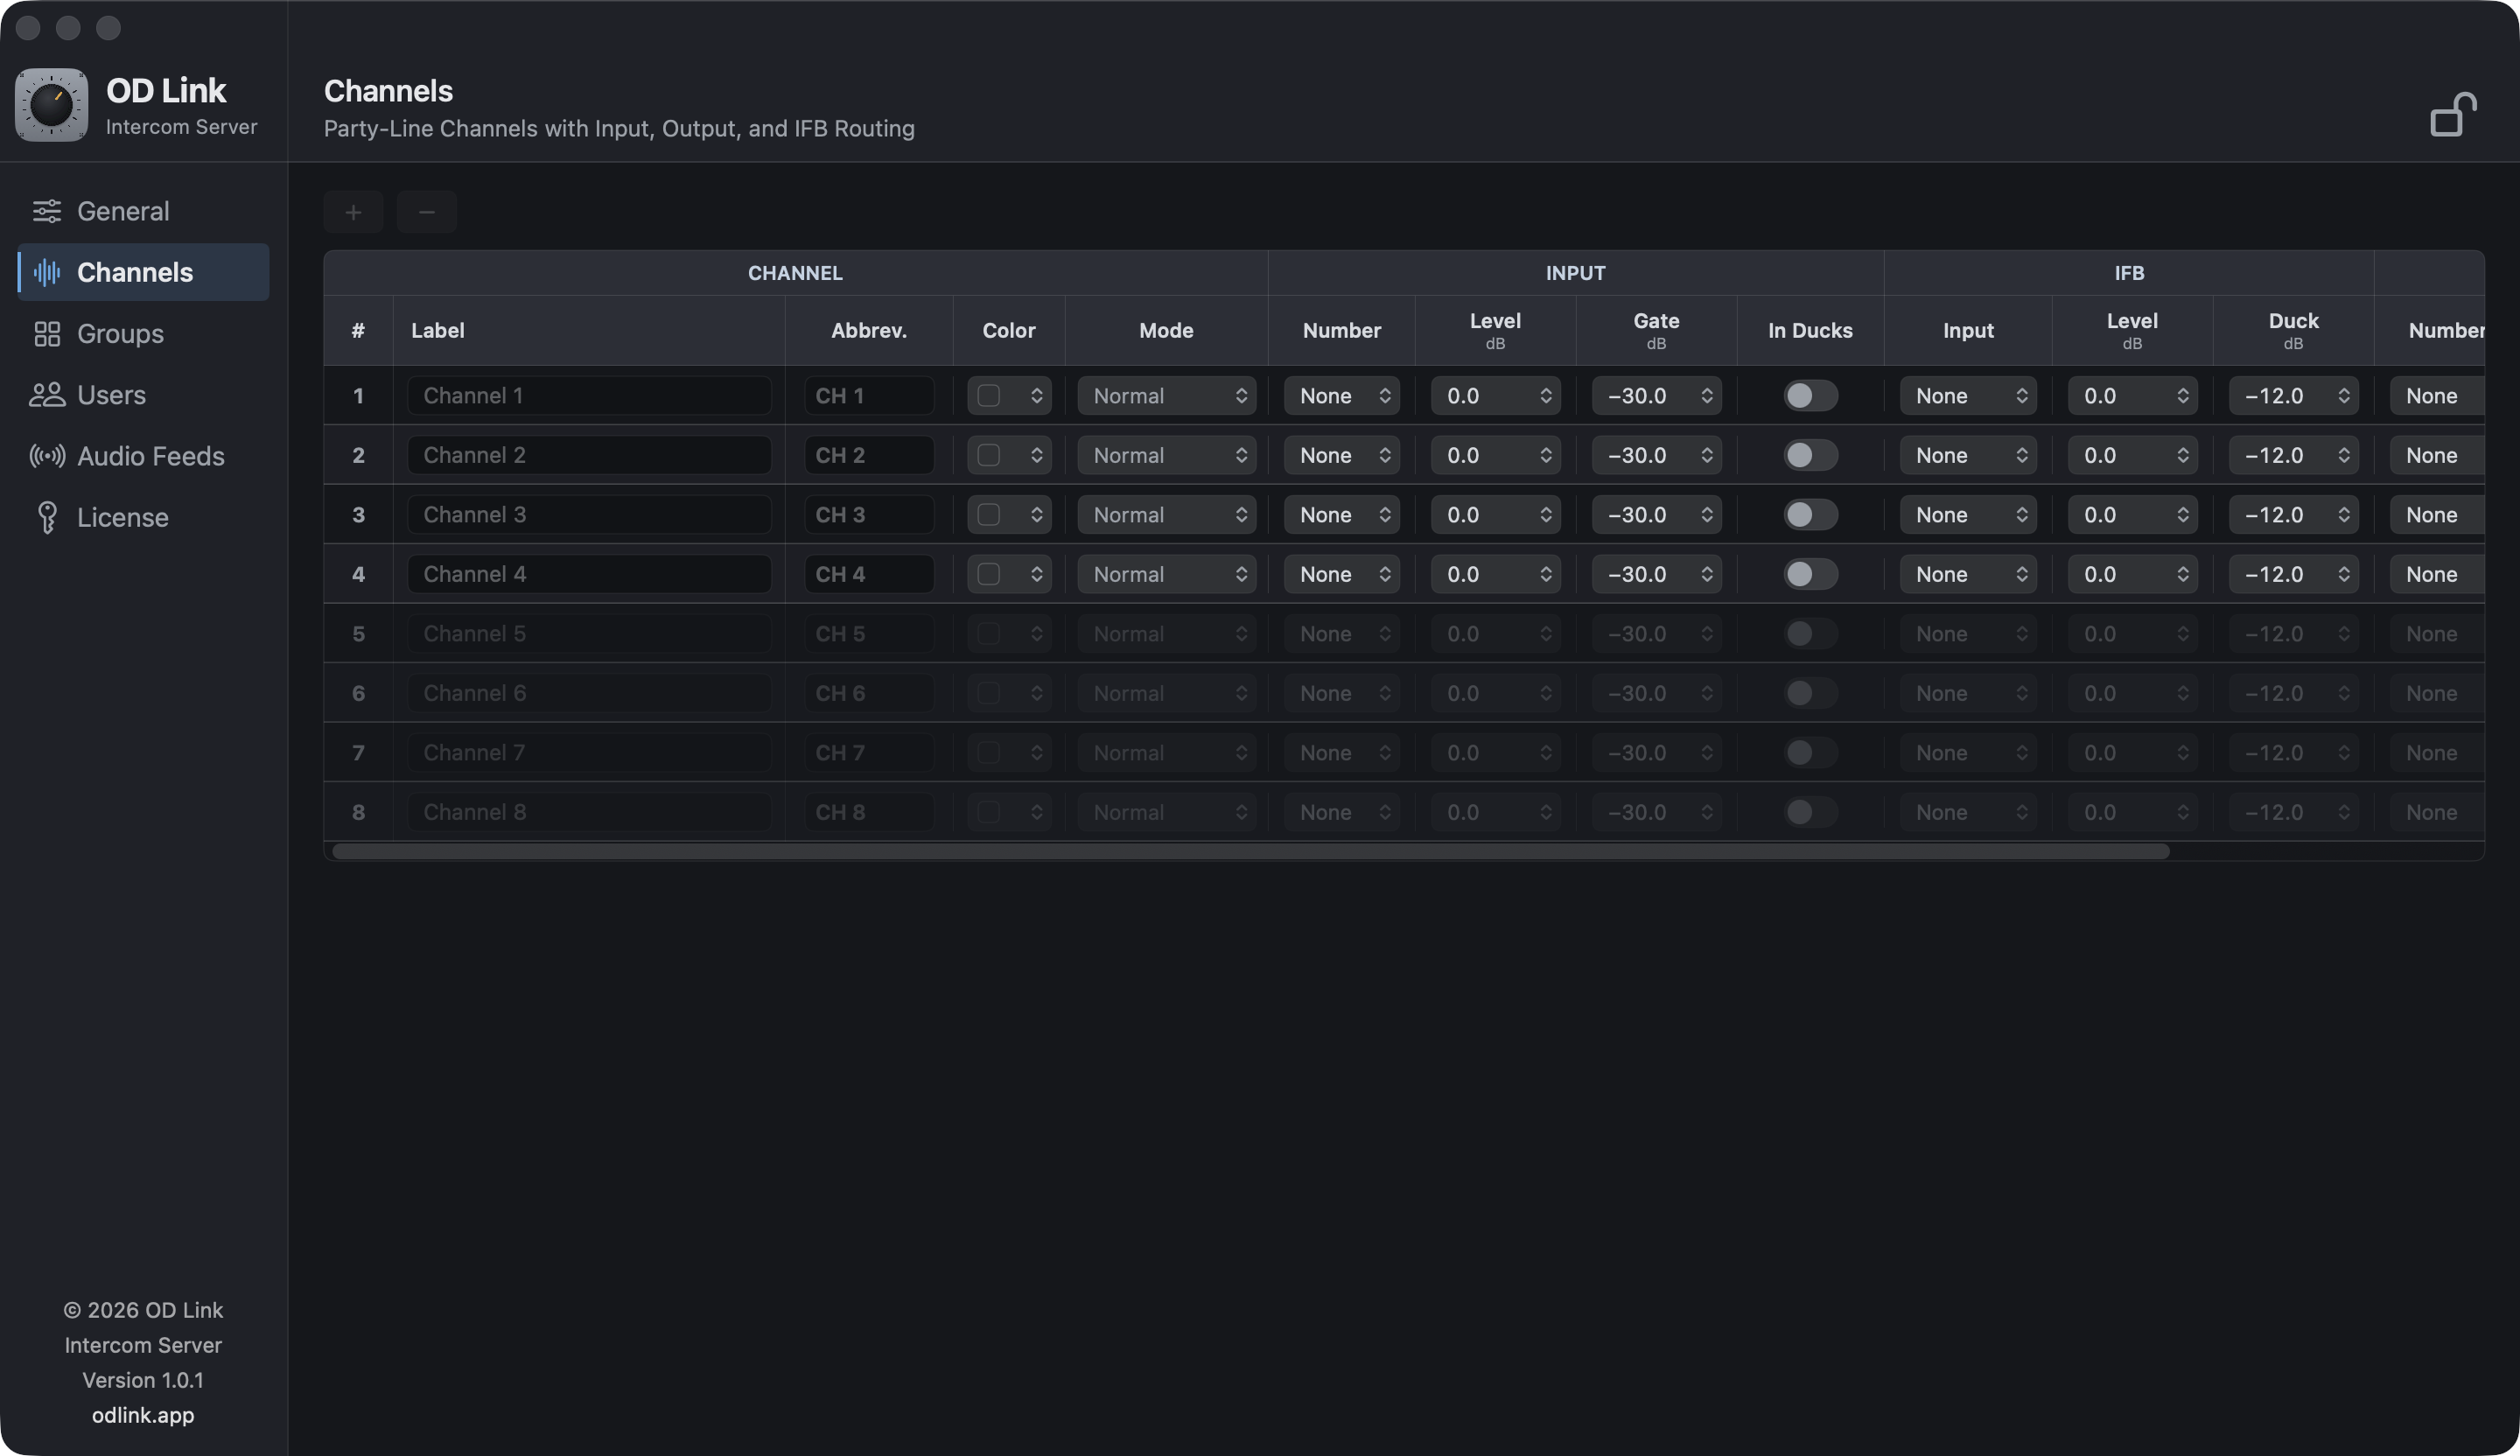
- Open Channels and select the Production channel.
- Set Input Number to the input carrying that source.
- Adjust input level and gate for the source.
- Assign Production to an allowed group position. On the client, enable L and confirm the incoming audio.
Signal path: source → Core Audio input → server channel → permitted clients with listening enabled.
Send intercom channel audio to an output
Set the channel’s Output Number and output level to select its destination on the server output device. Connect that output to the required console or compatible external audio system.
Return path: participant TALK → permitted server channel → selected Core Audio output → destination input.
Check both paths independently before joining them. Avoid returning the same channel output to its own input without an appropriate mix-minus or isolation arrangement, which can create feedback. Audio I/O routing does not imply direct electrical compatibility with every wired party-line system; use the required interface for that equipment.
Choose channel IFB or an Audio Feed
These are related but distinct workflows:
| Workflow | Configure it in | What it controls |
|---|---|---|
| Channel IFB | Server Channels | Program input, level and ducking for that channel |
| Server Audio Feed | Server Audio Feeds, then user feed permissions | A program source participants can select for monitoring |
| Client Program Feed | Client program controls | Selected feed, listening level and program ducking |
For channel IFB, select the IFB input and set level and ducking depth. In Ducks makes the channel’s external input trigger IFB ducking while its gate is open. Check the gate intentionally: an always-active input can keep program audio ducked.
For an Audio Feed, create the feed, choose its source and grant access to the intended users. Then select it in the client and balance its level against intercom. On a stereo output, supported client controls can separate program and intercom by ear.
Verify the complete path
- Listen to the external source on a client without TALK active.
- Speak from a participant and confirm the selected server output.
- Check that program level changes as intended during talk, then returns afterward.
- Verify another user’s feed access and group permissions.
- Turn off any test tone before the production starts.
Cloud rooms use client audio sources instead of Core Audio devices on your server Mac. See Server App and Cloud options and the detailed server audio-device reference.
↑ Back to top